Many home brewers opt to build a bar within their home as a place to kick back, have fun, relax with family, and entertain friends. And when it comes to building a home bar, one of the advantages is it doesn't have to be a major commitment in terms of labor or money (unless of course, you want it to be). Home bars can run the gamut from a simple and easy construction project to an elaborate and intricate one. I chose the latter.
After attending the Siebel Institute's Advanced Home Brewing course in Chicago, I found a greater appreciation for ingredients, processes and beer styles. The class was taught by some of the homebrew legends we all learn from in popular brewing books, but actually being there and hearing their passion for brewing first-hand was inspiring.
I remember thinking that as home brewers we put so much time, effort and care into making our beer, so shouldn't we put the same into serving it? Serving beer in bottles lets you get creative with labels and names, but what about those of us who want beer on draft in our home? There is a time and a place for the trash can, chest freezer or jockey box draft system, but for me, those systems aren't really adding anything special to the beer drinking experience at home.
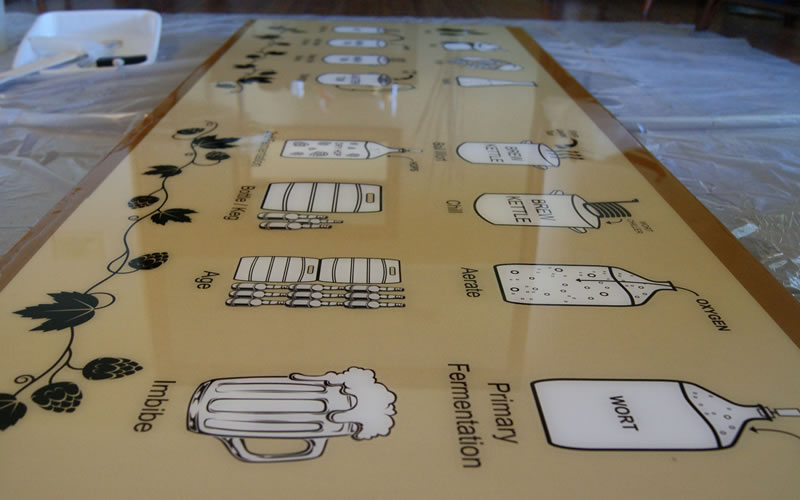
Home brewers deserve a little bling too, right? So I took this opportunity to kick it up a level and build the ultimate home brewer's home bar. The first question I usually get when serving homebrew to someone new is, "How do you even make beer?" I'm always excited when this question arises, but once you start throwing words out like "wort" and "trub", eyes and minds start to wander. The beer making process is not that simple to explain, so I wanted to let the bar tell the story while it served up my homemade goods.
Barstorming
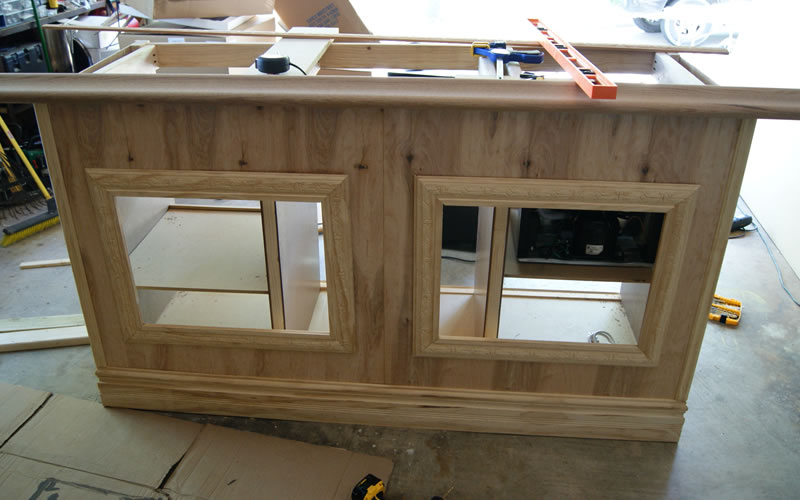
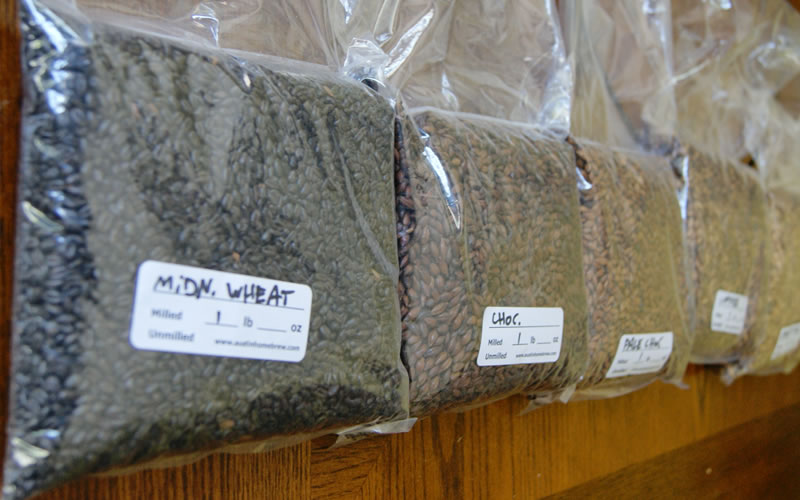
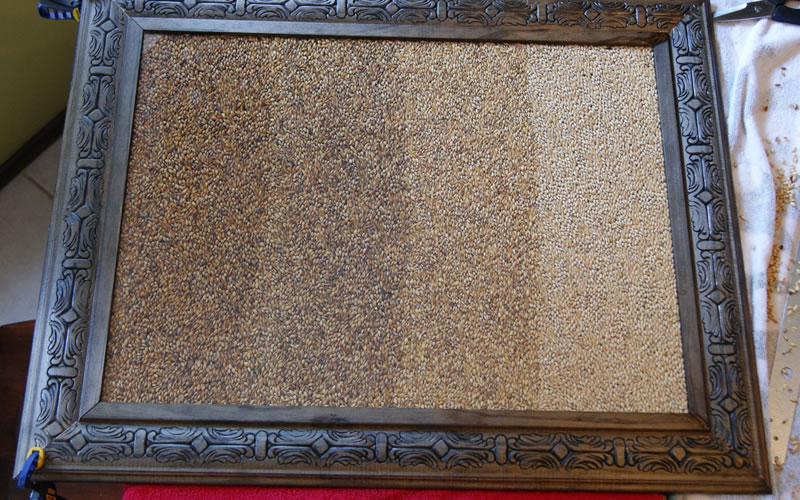
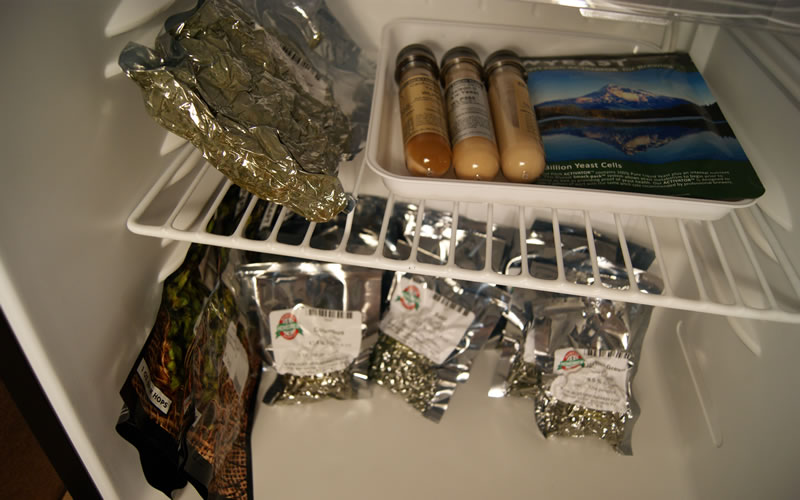
I thought about the features I would want in a home bar that would specifically cater to my home brewing needs. I knew I wanted it to seat at least four people comfortably, have cold storage for hops and yeast, a triple tap draft system, and tons of storage for glassware, brewing books, bottled beer. Finally, it needed some sort of additional wow factor. I wanted the SRM color scale represented in rows of grains on the front side of the bar and the bar top to have a "how-to brew" pictograph. I knew I shouldn't rush into the build without a little research, so I hit the internet.
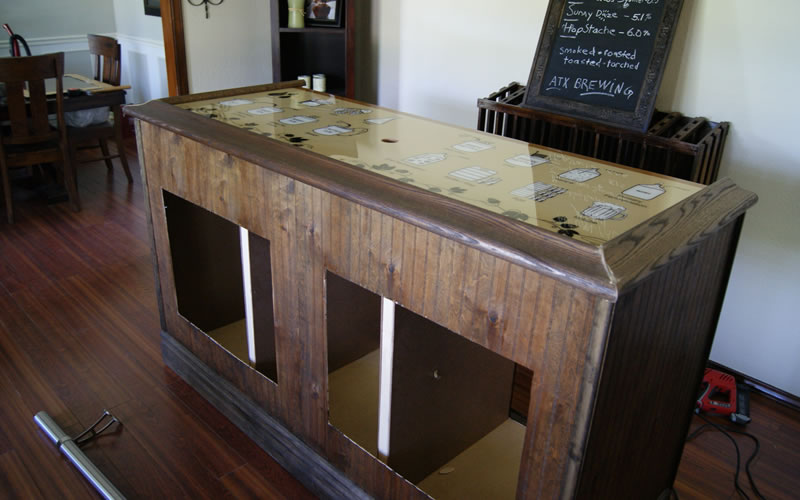
The internet is flooded with woodworking forums and bar plan web sites with bars of every size and shape imaginable. You can get some good ideas from other people's bar builds. After looking at multiple styles and weighing my options, I decided on a simple straight style bar about 6' x 2' x 3.75'. The bar would need armrests and foot rails. An assortment of wood would be needed for framing, moulding and shelving. Adding the draft system, refrigerators and epoxy bar top, I could see this was a huge project already, but it was for a good cause. A place for homebrew worship.
Here's my parts list
Here's my tools list
Here's what I did
Framing the Bar
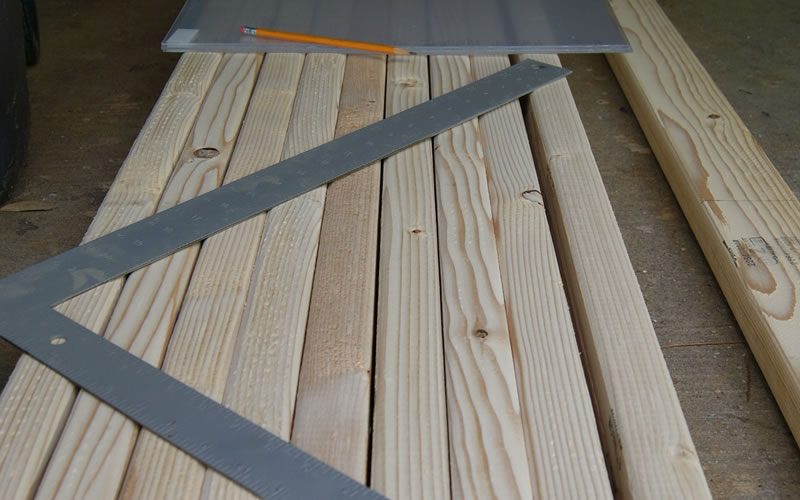
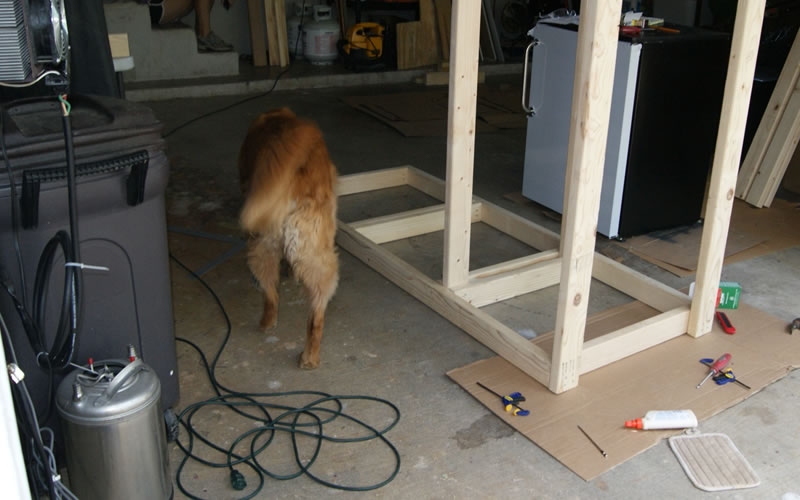
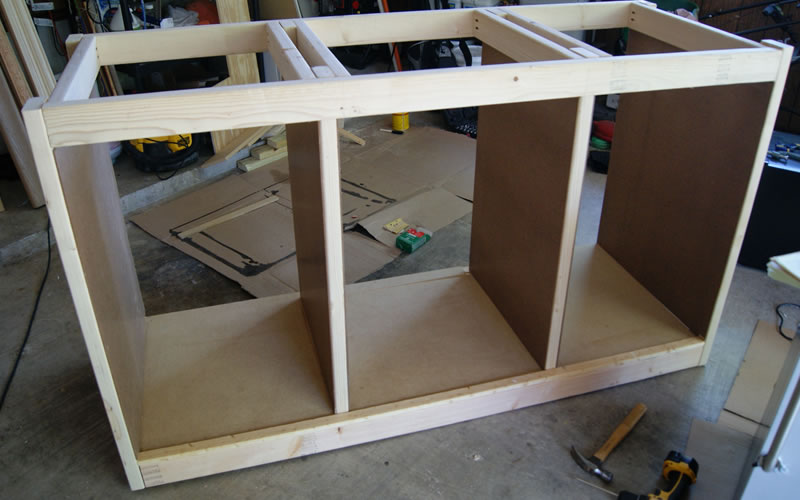
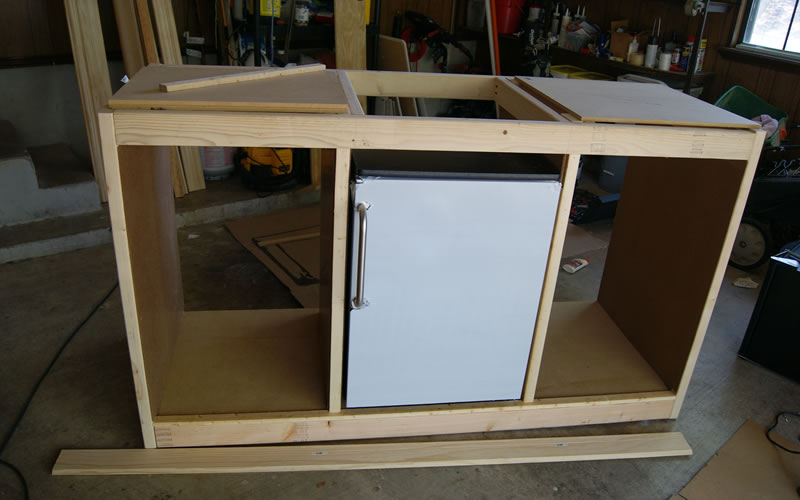
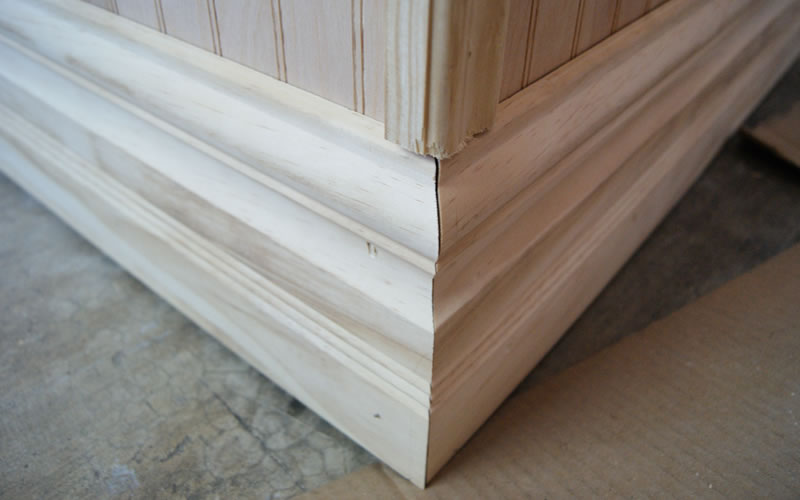
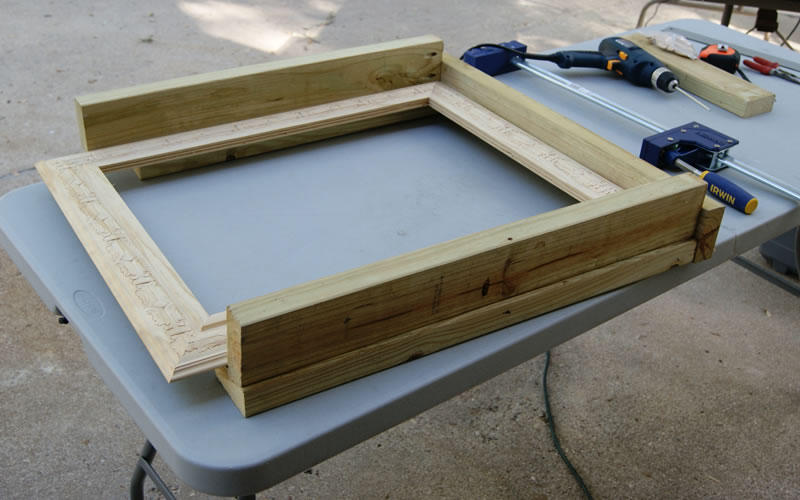
Looking at all of the raw materials lying on my garage floor, I realized this project's success was going to be largely based on my measuring and woodworking abilities. Installing a draft system is second nature to me and nothing to worry about, but I had to channel all the memories of days spent watching my dad build furniture and cabinetry. I started with some 2x4s to lay out a base frame for the bar. Protective eyewear went on and I started becoming extremely conscious of every move made with the power tools. I cut them using my compound miter saw (regular chop saw would work here, too) to the following lengths: 4 - (2"x 4"x 6') , 12 - (2"x 4"x 25") and 8 - (2"x 4"x 43 1/2")Trim & Moulding
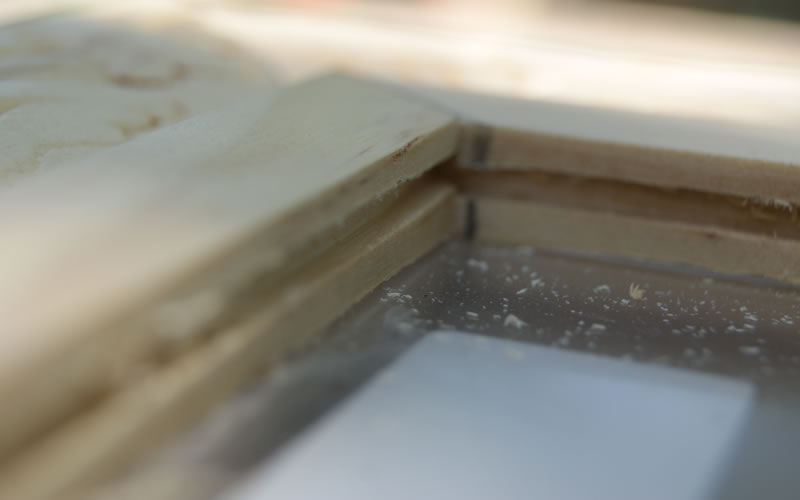
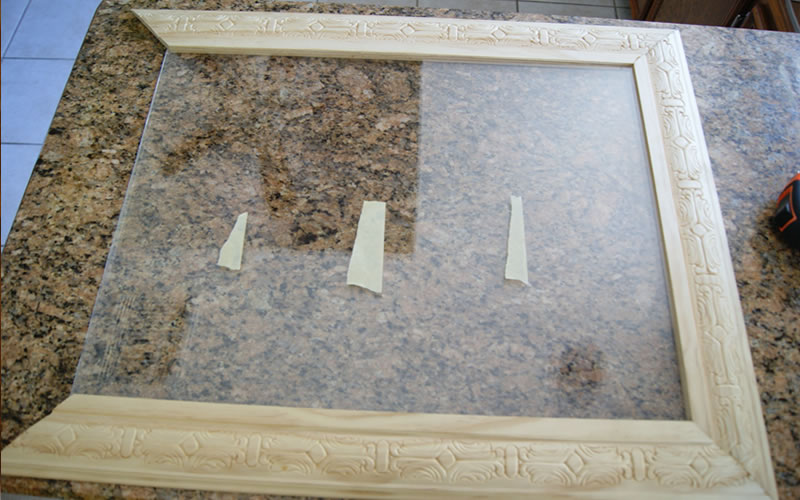
Grain Frames
Bar Top
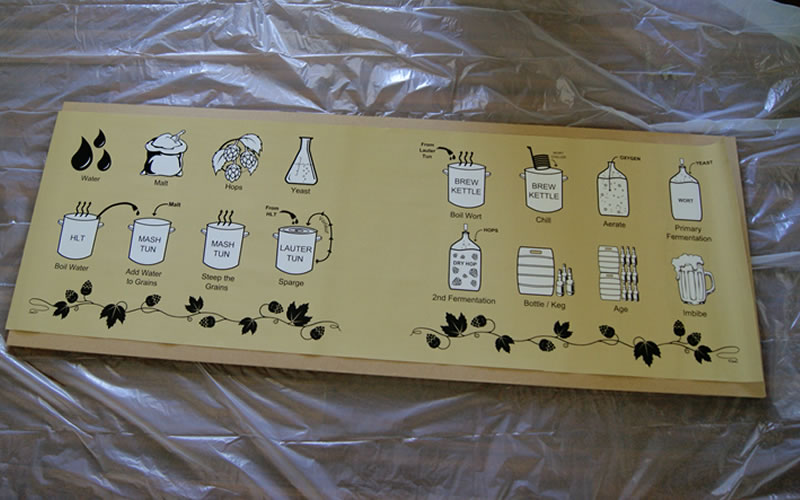
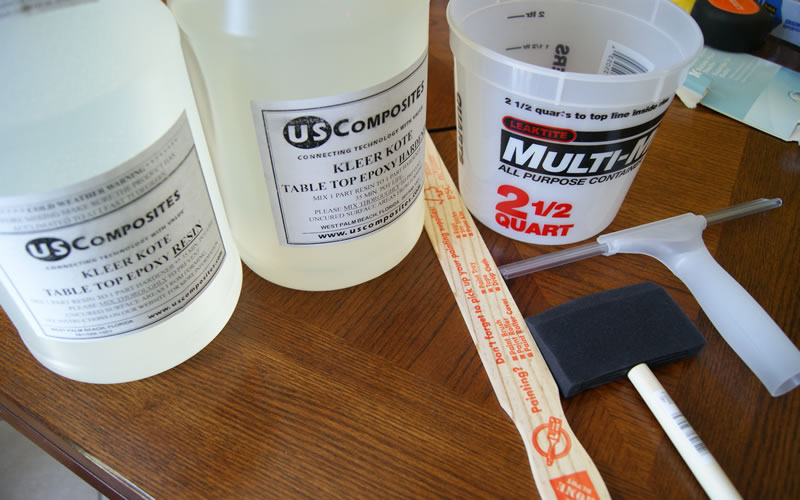
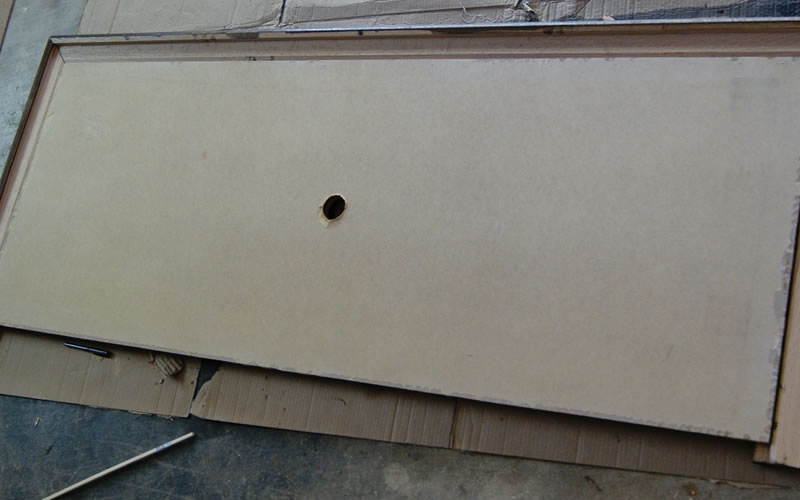
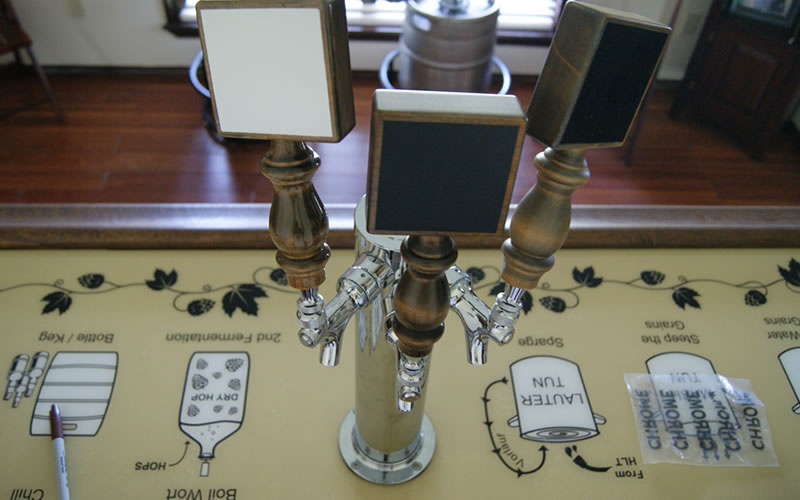
I wanted the bar top to have some sort of teaching element, so I mocked up some step-by-step brewing graphics, had them printed out by a local company (Austin Graphics), and I was able to pick up a 6' x 2' adhesive vinyl banner within a few days. The top needed to be covered in an epoxy coat to seal in the graphics and protect the bar top from spills. I had to construct a clean room using plastic tarps and also had to shut off the A/C vents to limit particulate in the air. Layering epoxy on the bar top is a long multiple step process, but anything with a blow torch as a required tool seemed fun.
Here's the graphic I made in a printable PDF >> DOWNLOAD THE BAR TOP GRAPHIC HERE
Draft Tower Installation
Finishes Touches
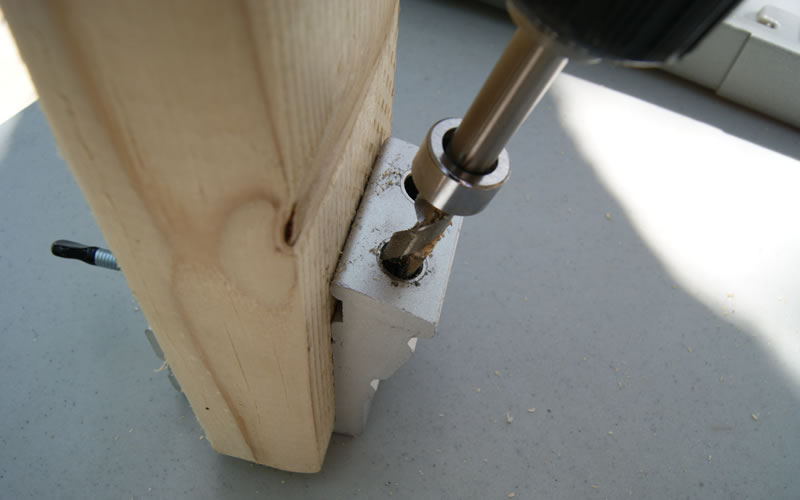
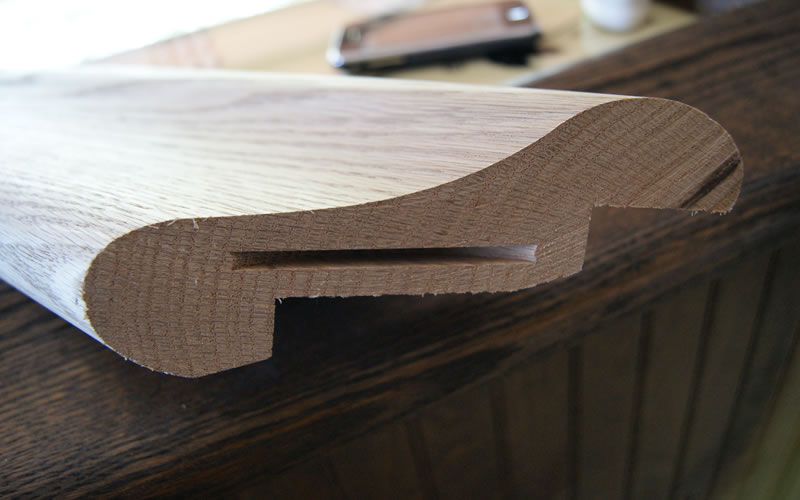
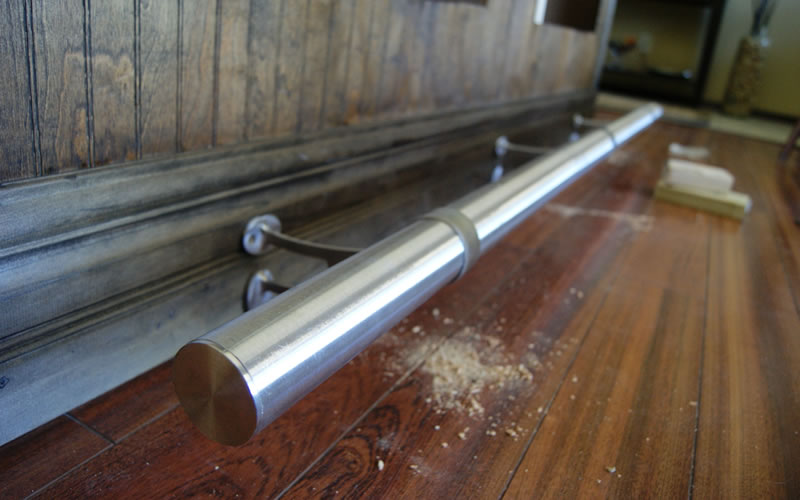
A bar just isn't complete without a footrest, so I ordered 6' of brushed stainless steel tube, rail brackets and end caps to give my tired dogs a place to rest. The rail brackets required a few pilot holes to secure the footrest to the bottom of the bar. I drilled through the moulding and 2x4 framing and tightened the brackets down, slid in the tube and capped the ends.
The kegerator I purchased came with an air tank, 3-way air distribution valve, and beer and gas line fittings to dispense beer out of three kegs. This means all of the kegs are under equal pressure. I like to keep my air system simple, but you could purchase two or three valve regulators that would allow you to control the amount of pressure in each keg. I have a few other systems in my garage that I use for force carbonating, so the CO2 saturation is set before the kegs enter the house.
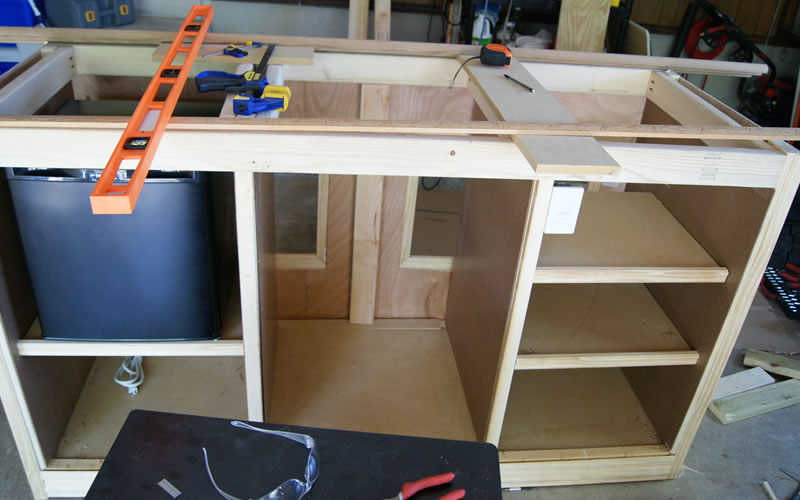
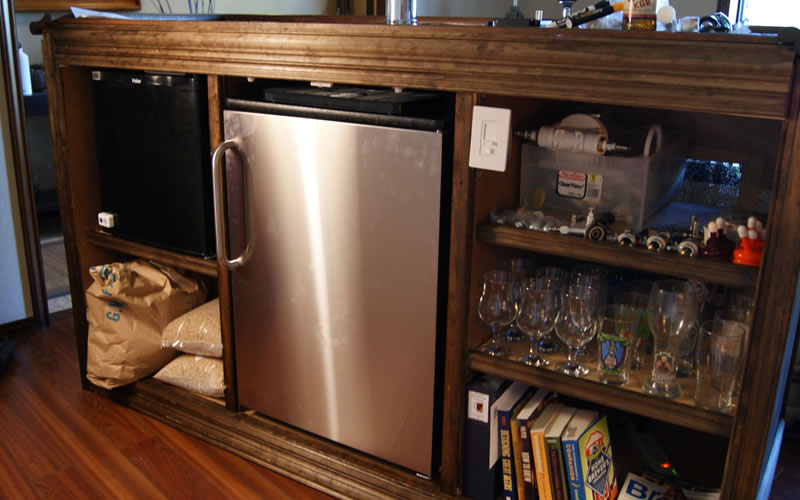
Under the mini-fridge, I used the shelf space to store my grains. I was able to fit a full bag of 2-row and a few other bags of mixed grains. Enough grain to brew around 25 gallons of all-grain beer. On the remaining shelves I stored some brewing books and magazines, an assortment of glassware and other brewing equipment that never had a good home until now.
The bar has reached completion and is ready to enjoy. I pushed my woodworking skills to their limit, but this project was a lot of fun. I already have a wish list of additional features I will add in the future like a built-in yeast stir plate, hop scale and under-counter lighting. For me, home brewing is not only a very rewarding hobby, it's a creative outlet and a lifestyle. It brings people together and builds community among friends, so whether you build a bar like mine or something a little more simple, invite over some friends and enjoy some brew time.